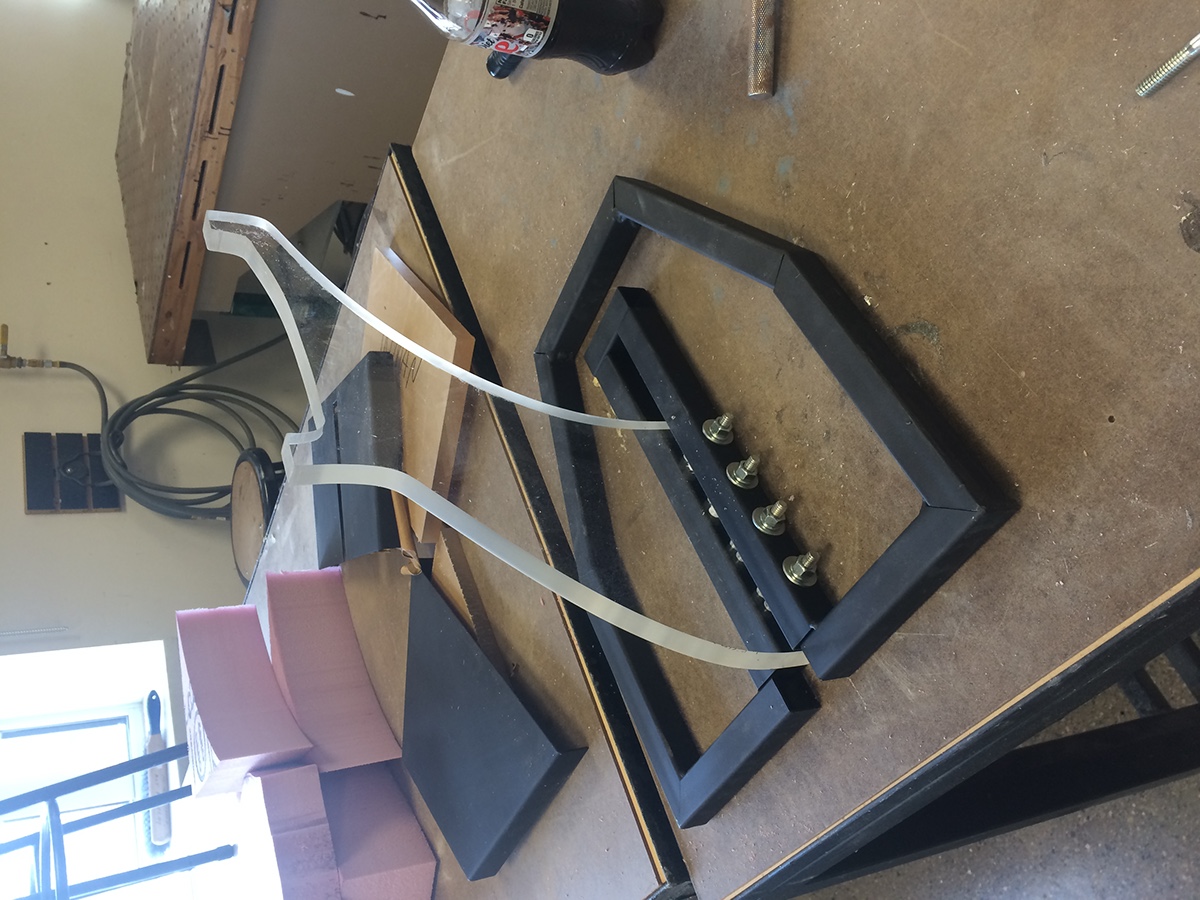
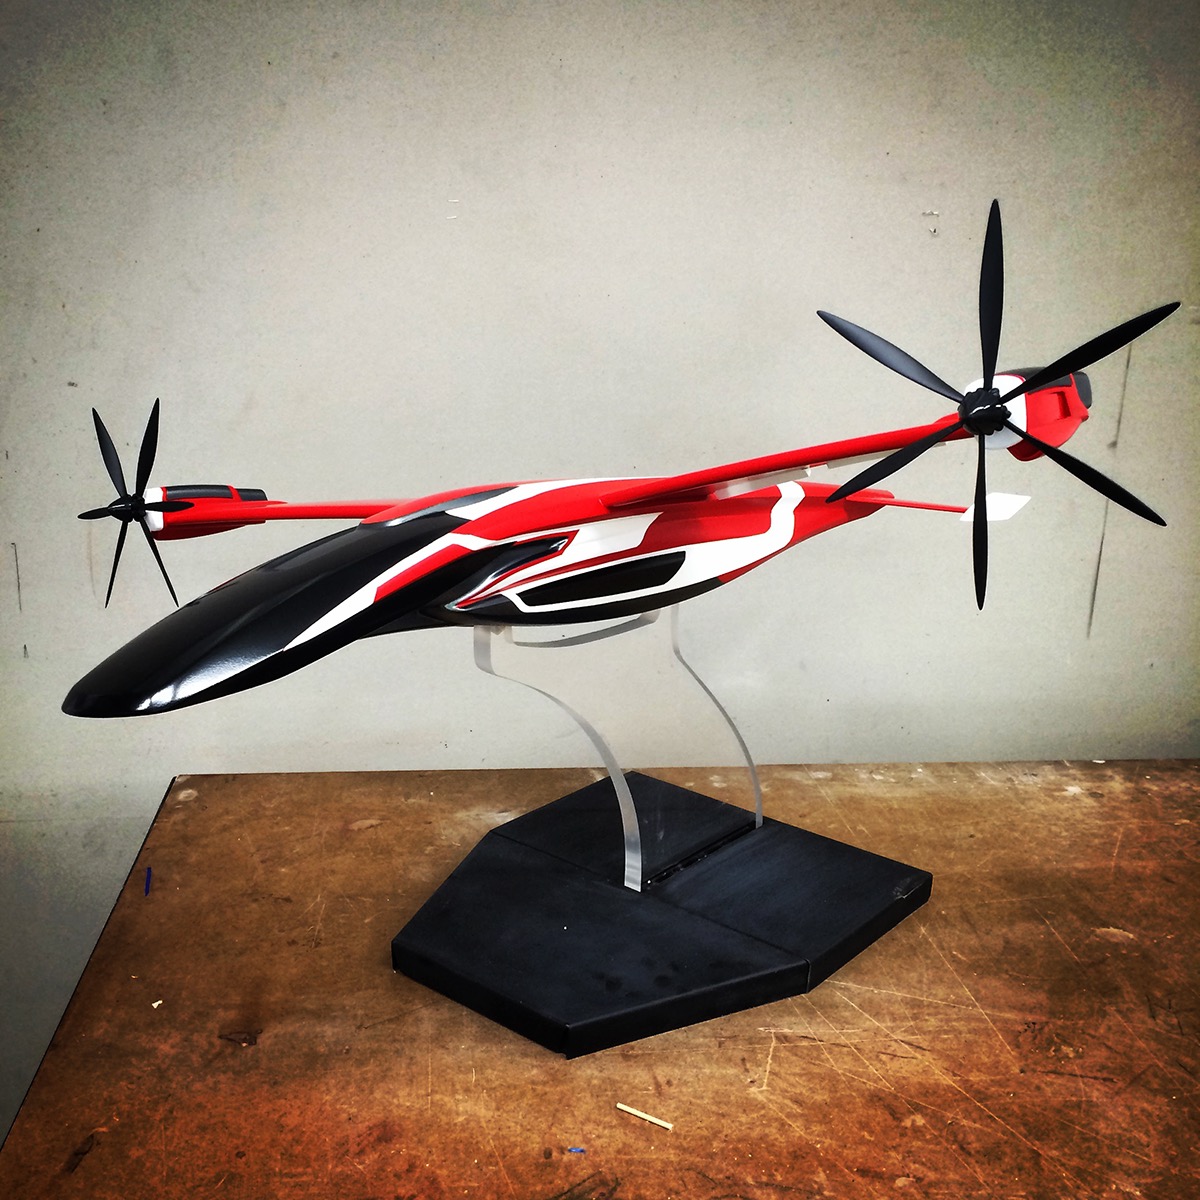
starting off waiting for bulk of the model to be built, i needed something sturdy for it to sit on for display. some angle cut 1"x1", 3/4" acrylic sheet, and some lag bolts did rather well. it supported my entire bodyweight! (not that i reccoment standing on it)
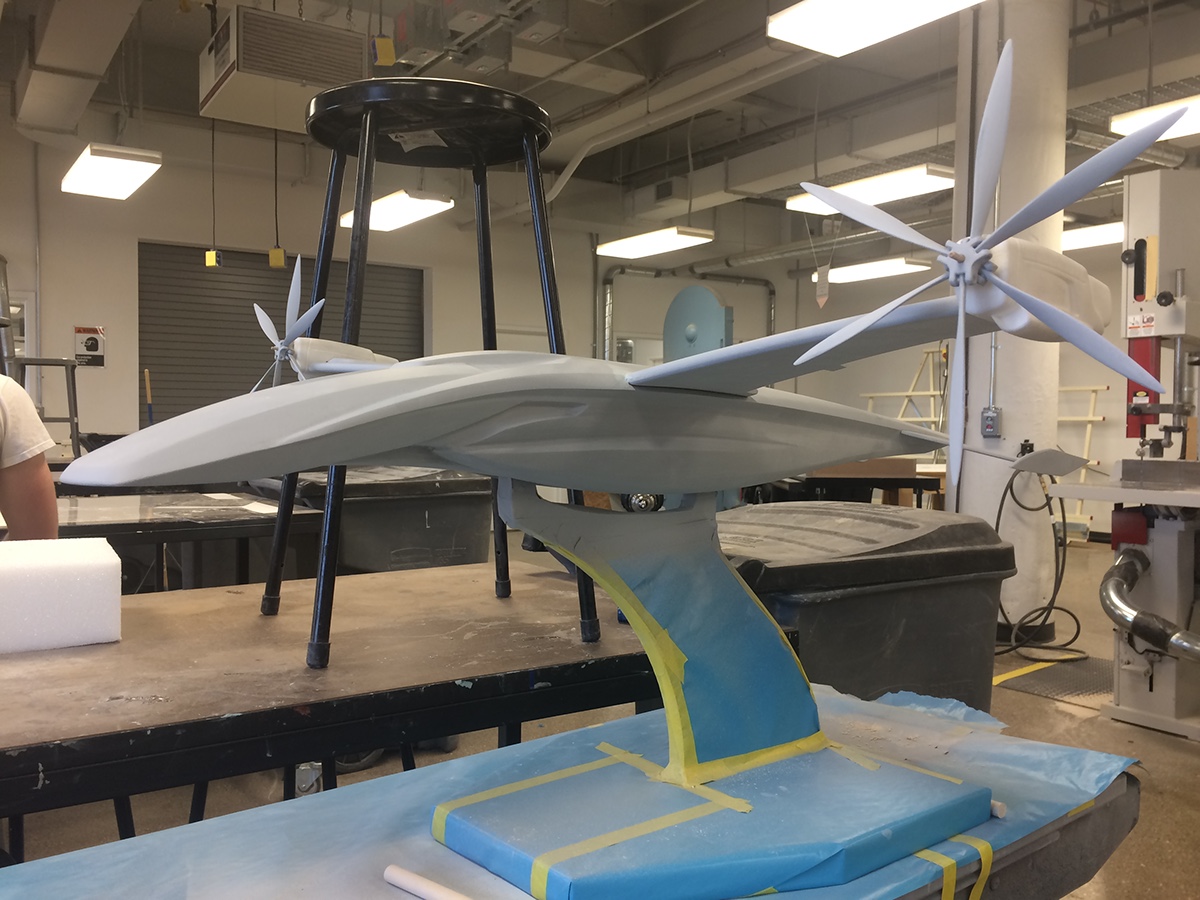
After the first part came off the mill, it was time to sand, prime, sand, then prime it again. its a tedious process, but its neccessary inorder to get a solid finish.
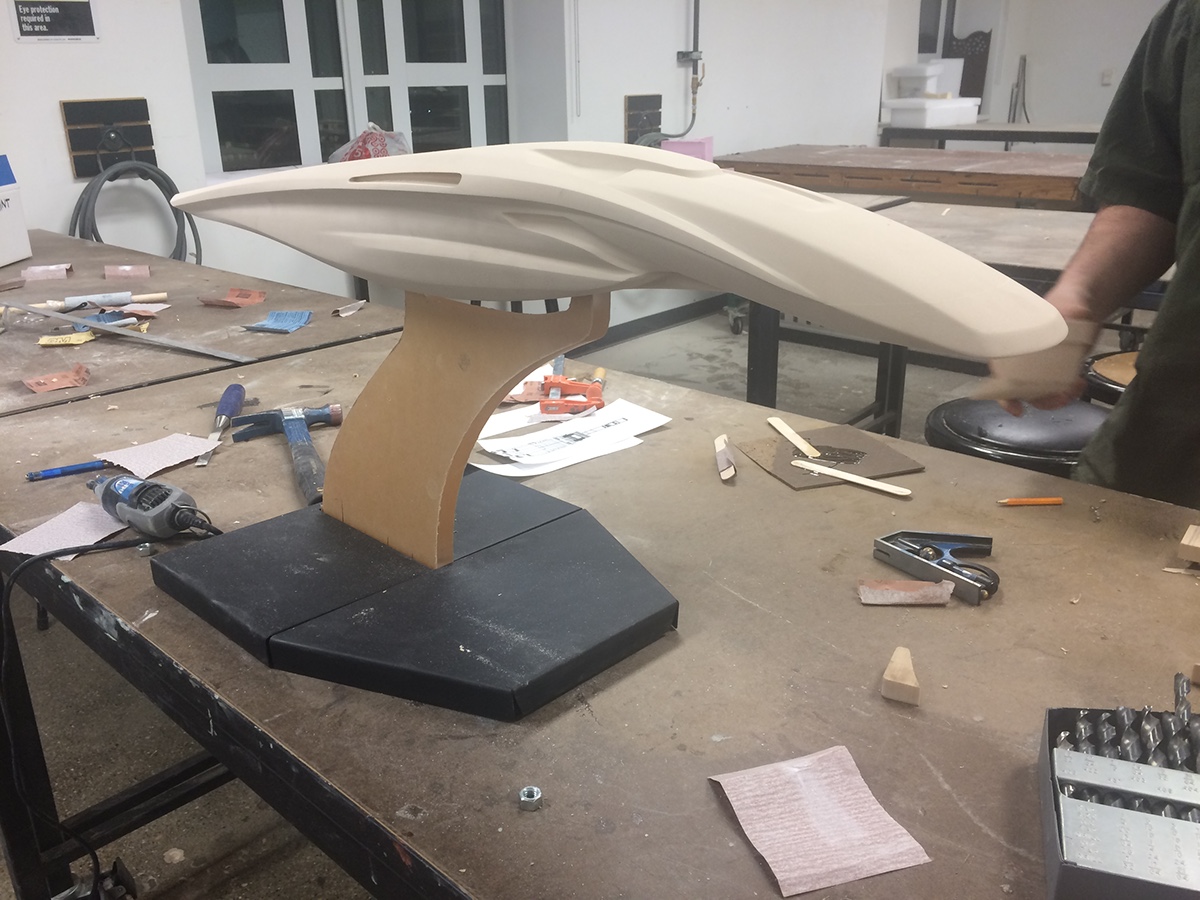
This is definitely one of the messiest points during the build process.

after priming all of the parts, laying them out before i test fit.

it took a little bit of finesse, but some files and 180 grit got everything to their proper place.
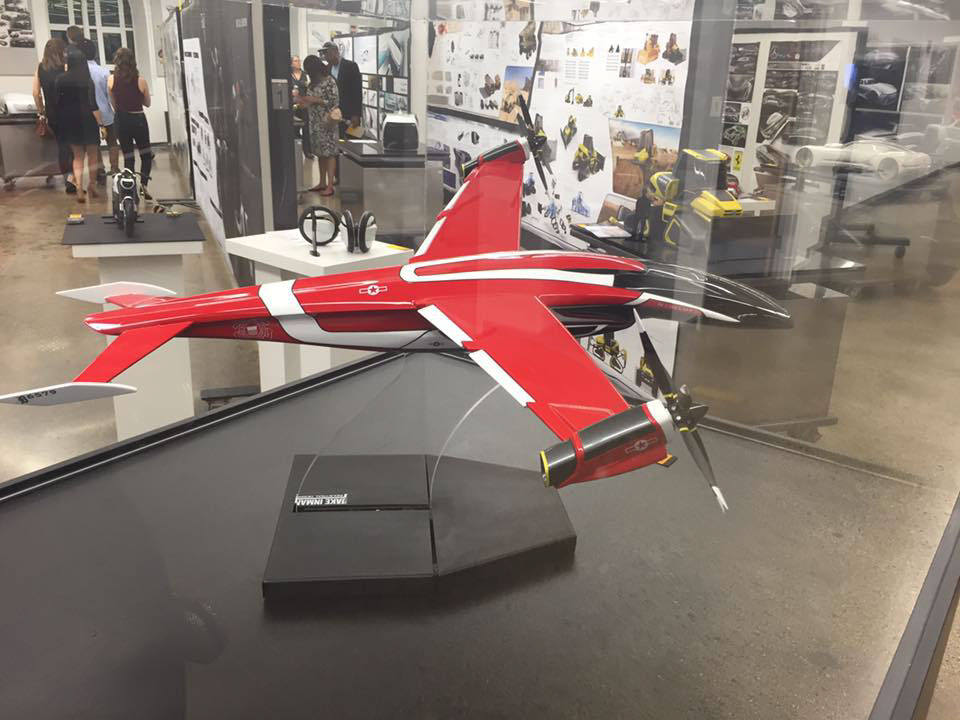
with 4 separate colors, and decals, the bulk of my time was spent on taping off the details for each individual color. the base coat is solid white
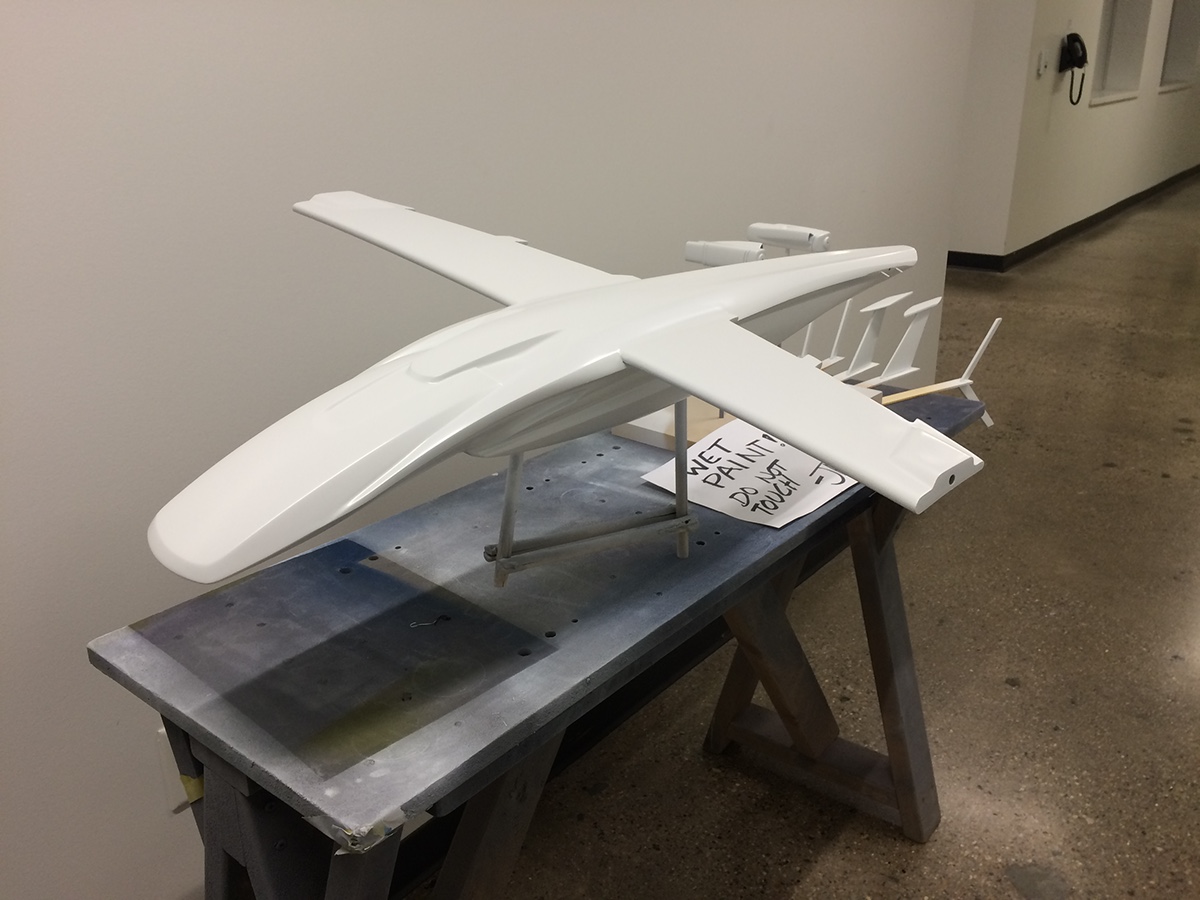

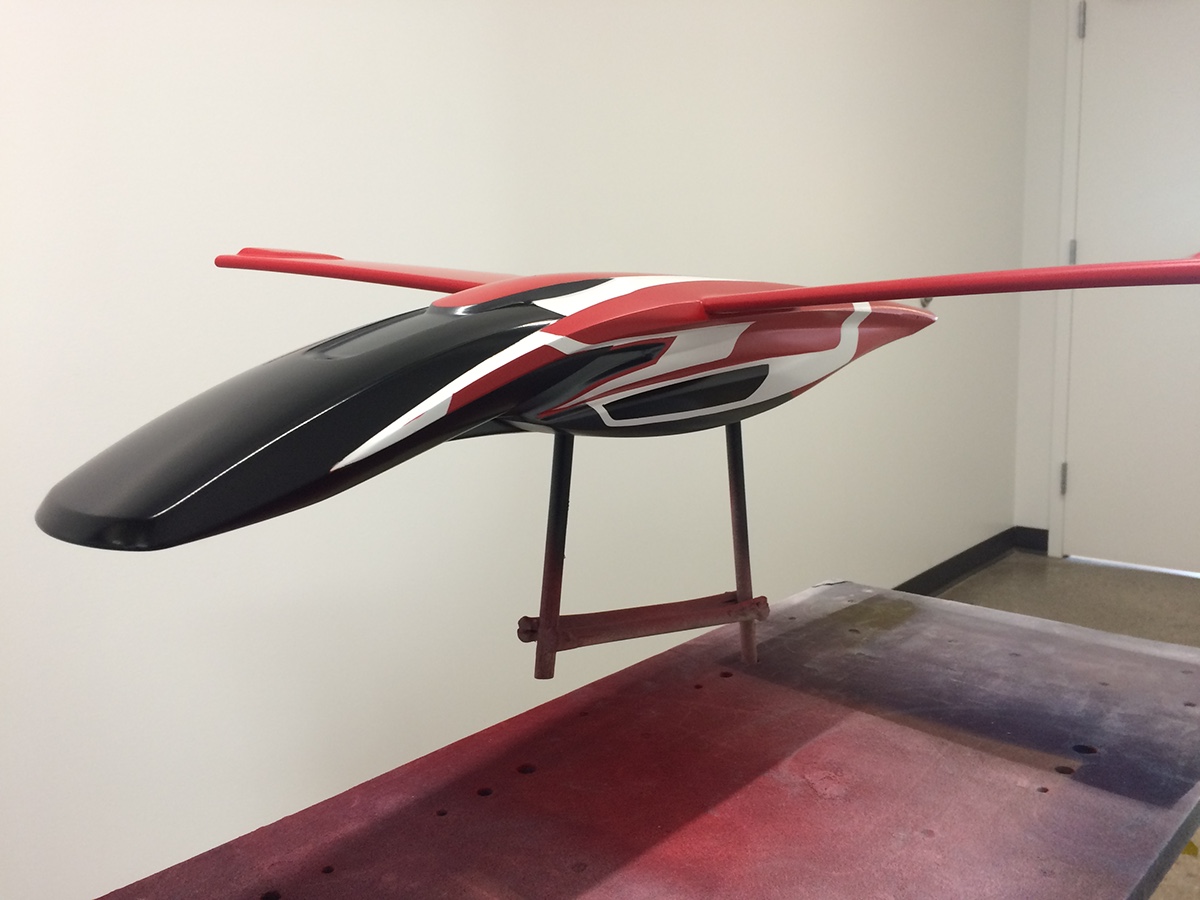
all of the colors are applied, and another test fit to make sure the paint buildup wasnt too serious.
what you dont see is that just before clearcoat, i put all of the decals down so that they would look as if they were seemless with the model. it also helps make sure they dont fall off.
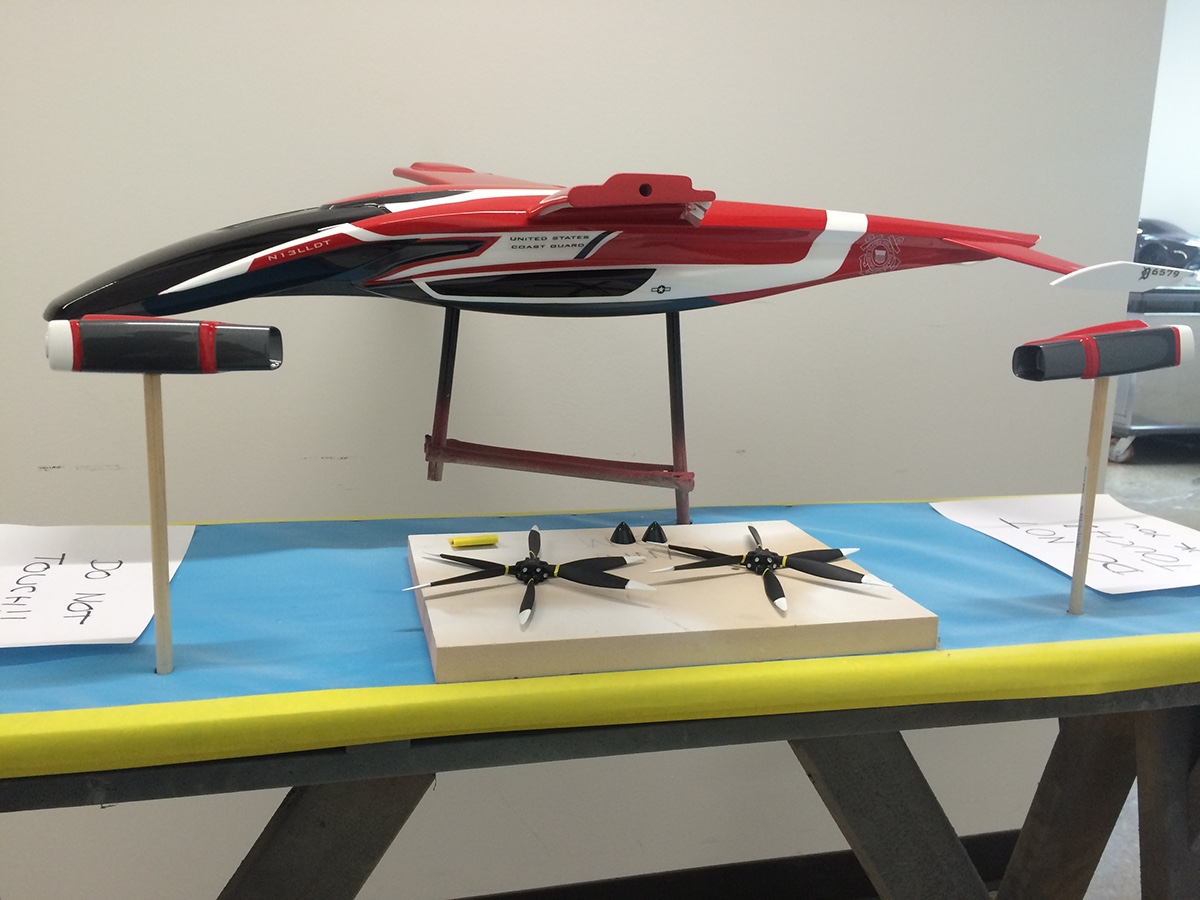
after the clearcoat had finished curing, i used some thin black tape to clean up the paint edges.